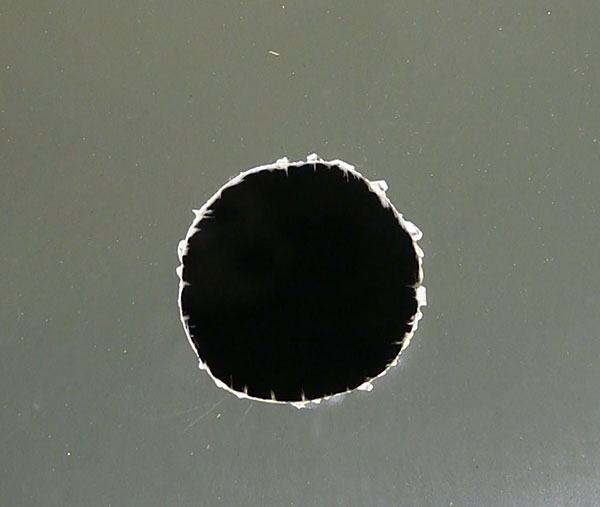


I got tired of seeing this when I looked i side the cowl at the field to adjust the
carb. I knew there had to be a better plan.
Text, photos and video by Tom Hintz
Posted - 4-15-2016
Modelers can spend a lot of time on the cowls of their planes. We want them to look nice, but in that pursuit of pretty the inside of the cowl can become a dark, frustrating place. When I built the Top-Flite Giant Scale P47 Razorback I took the time to install the dummy engine to maintain the semi-scale look of the plane. That turned out nicely (for me) and the cowl has the look of a WWII fighter so many have come to like.
Part of prepping an attractive cowl in today’s modeling includes keeping extra holes to an absolute minimum in size and number. However, that creates an issue when we wrap that cowl around a gasoline engine with a carburetor that requires occasional adjusting. Making a hole sized to fit closely around a screwdriver helps retain the scale-like appearance but if there are no other openings through which the sun may shine finding the carburetor adjustment screws is a function of luck rather than intent. Even making the hole bigger so we can actually see around the screwdriver generally lets us see more dark space. This is precisely what happened on the Top-Flite Giant Scale P47 Razorback cowl.
Then one day at the flying field the Top-Flite Giant Scale P47 Razorback’s engine reached a place in its break-in where the carburetor adjustment changed slightly. Seeing as this is an expensive 21-lb airplane that I am not looking forward to dead sticking I wanted to tweak the carb a little before the next flight. The good work of a friend who actually cut this cowl along with my efforts at putting the dummy engine in combined to darken the inside to where I couldn’t see a da%$ thing. I could pull the cowl each time I needed to make a change but that is a dumb plan of action. Luckily the wind kicked up and I had a good excuse to put the Top-Flite Giant Scale P47 Razorback back in the trailer before something awful happened.
While pondering my options I thought of those ridiculously bright LEDs that festoon so many planes and quads these days. I had a quad with a strip of LEDs on the back end that was annoyingly bright in full sunlight. Then for some reason the dome light in an old 55’ Chevy popped into my mind and melded with the LED thought and I actually had a good idea.
When I started Googling my way through the RC LED world I found lots of LED strips but no single LEDs with a switch and battery. I found what I wanted at an on line store, www.modeltrainsoftware.com and for about $8.00 I had my solution on the way. When the LED equipment arrived I put it on my postage scale with the battery in place and the whole setup weighs .2-ounce. Even a warbird can handle that extra weight.
It might surprise some people but I actually thought about where the LED should go so that when I looked in through the screwdriver hole it didn’t turn the once black hole into a glare that prevented me from seeing the mixture screws just as effectively as the dark. I located a barren spot on the firewall to the side and drilled a 5mm hole. The LED is listed as 3mm which the front of the bulb is but the base is closer to 5mm. I put the bulb through the firewall and gobbed some trusty Shoe Goo in the hole behind the LED, then pushed it into the Shoe Goo and the hole and let it dry. Shoe Goo can hold just about anything.
Velcro seemed like the best way to stick the coin-type battery (CR2032, 3V lithium) holder and the little pushbutton switch inside the hatch cavity. I put the cowl back on, looked into the screwdriver hole and pushed the LED button. It’s not daylight-bright inside my cowl but it is easy to see the carb mixture screws. The blue shade in the images with the LED on is a trick the camera processor, my huge tungsten lights and the clear LED play with each other. In the real world the LED casts plain light across the engine and all looks normal.
So, once again common sense and a couple low-buck parts combine to fix an irritating problem. I like it when an idea turns out to be cheap and simple to execute. I have had more than my share of dumb ideas but I am the writer here so we aren’t going into them. Focus on the one here that worked and could make life for you way easier if you have a cowl full of dark. If it works for you send me a couple grand and we will call it even.
Model Train Software (LED source) – Click Here
Have a comment on this story –Email Me!